How I Make the Most of Dictation
Dictation has been having a moment since Whisper’s release in 2022. And I get it: in an ever-accelerating world, dictating at 150 words per minute instead of typing at 50 is appealing.
Yet despite using it on and off since then, something never quite clicked. Too many mistakes, too much missing context, and too many recognition errors. It wasn’t reliable enough for me to use daily.
That changed a few weeks ago while I was using Raycast Dictation: I realized I had been treating these tools as a way to get magic transcriptions of my thoughts rather than as a way to create ready-to-use artifacts across my apps.
By that, I mean turning rambling thoughts directly into an output like this:
Hey Paul, hmmm, thanks for reaching out. Huh, looking at my calendar, it looks… like I’m busy for this week. So can we do that thing, huuuuh, maybe next week? Let me take a look at my next week, monday no, but tuesday may… yeah, it works for tuesday. Let me know.
Hi Paul,
Thank you for your message. After checking my schedule, I’m busy this week. Would it be possible to reschedule our appointment for next week?
Tuesday works perfectly for me. Please let me know if that works for you as well.
Best,
That’s what we’ll look at today: how to actually use dictation apps, build useful workflows, and develop habits that make it more reliable over time.
I’ll use Raycast Dictation throughout this article, but the same approach works with other tools such as VoiceInk, superwhisper, or Wispr Flow. Pick whichever one suits you best!
Getting started
Before you continue, choose and install one of the dictation tools above. Use it here and there to see where the output falls short. Then you can improve your results with these layers:
- Vocabulary fixes repeated mistakes for names, technical terms, or unusual words.
- Global instructions apply preferences and voice commands to every transcription.
- Styles shape the output for a specific app, task, or destination.
Vocabulary
Okay, so you’re getting cleaned-up transcriptions out of the box. Great. Where do we go from here?
The first step is to add some vocabulary. Even though these models give you good results most of the time, they’re still likely to struggle with your personal vocabulary: friends’ names, city names, technical terms, abbreviations, or unusual words.
It’s annoying to fix the same words over and over again. Luckily, these tools have a feature built for exactly that: custom vocabulary. So, whenever you notice a recurring mistake, add the correct term to your vocabulary and you’re done.
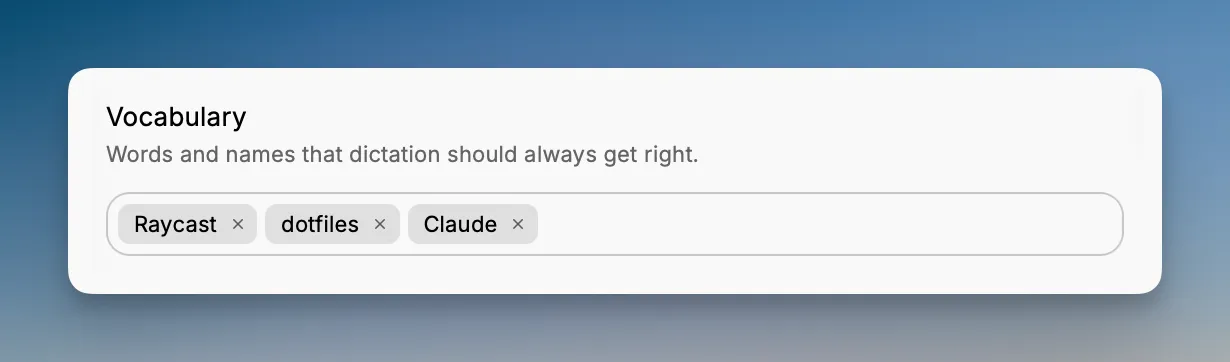
Don’t try to anticipate every term you might use because this could bloat your model with unnecessary context. Only add terms when you notice a real, recurring mistake.
Global instructions
Next, you can steer your results with global instructions. These are rules you want to apply to every transcription, such as always using lowercase or following a particular writing style.
I also find this to be the right place to add voice commands that control the output, such as inserting emojis or bullet lists.
These are my global instructions, slightly edited for this article:
- Keep the primary language and preserve intentional code-switching, integrating English naturally into French.
- If the ending is clearly cut off, add the smallest obvious completion, normally one to three words; if ambiguous, leave it incomplete.

Voice commands are spoken control phrases. When clearly used as commands, apply them instead of transcribing them literally:

- "Emoji …" inserts the matching emoji.
- "Bullet list … next bullet … end list" creates a bulleted list.
- "Verbatim … end verbatim" preserves the enclosed text exactly.
Styles
Now for the most interesting part: styles. This is the feature that made me use dictation much more often.
Styles (sometimes called modes) are essentially focused post-processing prompts: they take the basic transcription and format it so it’s ready to use as-is, whether it’s an email, a message, or a command.
Raycast Dictation can use your frontmost app as context, meaning that you can configure a style to run automatically in a particular app.
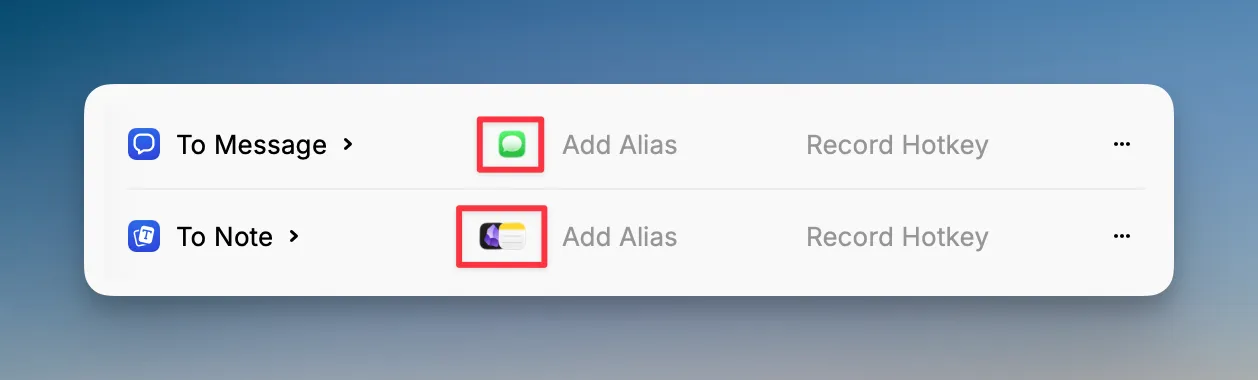
You don’t have to assign an app or website to every style. Styles are surfaced in Raycast’s root search either way, which makes them easy to use occasionally.
Here’s the set of styles I’m using:
To Comment: Turn a dictated review into a GitHub or Linear comment.To Email: Write a formal email in my mail app.To English: Translate a French transcription into natural English.To Grilling: Structure longer answers to a Grilling questionnaire.To Message: Write short replies in the Messages app or in Slack.To Note: Reformat thoughts as lightweight Markdown in my notes.To Terminal Command: Turn a natural-language request into a zsh command.To Prompt: Turn a rough idea into a prompt I can use with an AI model.
Some examples
Now, let’s take a look at some real-world examples to see the results.
Pull request comments
I’ve worked remotely long enough to know that written messages are easy to misinterpret, leading to miscommunication. That’s why I created a style that runs automatically on github.com to keep my comments friendly, objective, and actionable. Here’s what it looks like:
Well, even though the code is working, hmmm, we have three use states here that could be desynchronized at some point, hum… yeah. It’s best to have just one source of truth. And then… derive state from it. Because, thinking about it, it could break later on if we add a feature and forget to update one of them. So yeah, just use one use state.
Even though the code is working, we have three use states here. They could become desynchronized at some point. It’s best to have just one source of truth and then derive state from it, because it could break later on if we add a feature and forget to update one of them. Just use one use state.
Even though the code works, we have three useState instances that could
become desynchronized. It’s better to have a single source of truth and
derive state from it; otherwise, adding a feature might break things if we
forget to update one of them. Let’s consolidate that to one useState.
Here is the style behind the transformation:
Format the transcript as a concise, friendly, ready-to-post developer comment for GitHub or Linear issues.

- Preserve its meaning, technical details, uncertainty, priority, blocking status, and intent.
- Remove speech artifacts without resolving ambiguity, strengthening claims, or adding information.
- Use canonical spelling and backticks for identifiable code terms, APIs, hooks, functions, variables, files, and commands—for example, “use state” becomes `useState`. Do not guess ambiguous terms.
- Lead with the requested change. Skip hedging and pleasantries while staying objective and professional.
Terminal commands
Dictation doesn’t have to stop at rewriting or adjusting the original text. It can transform your words into something else entirely, such as another language or even code.
For example, I use a style in Ghostty that turns a natural-language request into a zsh command.
fd -e mp4 -e mkv -e avi -0 . | xargs -0 du -k | sort -nr | head -n 10
And here’s the prompt behind that:
Format the transcript into the shortest reliable, paste-ready zsh command for macOS.

- Prefer one command or pipeline.
- Prefer `rg` for text search, or `fd` for file discovery.
- Assume GNU utilities are unavailable; use macOS/BSD/POSIX-compatible syntax.
- Preserve all inputs, conditions, scope, and effects. Quote safely and preserve argument boundaries by passing paths directly or using NUL delimiters.
- Never invent inputs or add `sudo`, force flags, or destructive actions.
- Output raw zsh only—no Markdown, prose, prompt symbol, or wrapper.
Inspect the result before running it. A plausible-looking command can still be unsafe or wrong.
Dictation tips
You now know how to use dictation your way and have seen real workflows. Here are some tips to make it more useful and reliable over time.
Dictate one idea at a time
I prefer to dictate paragraph by paragraph, or idea by idea, for a few reasons:
- A smaller piece of context gives the style a more focused task.
- If the result needs an adjustment, I only have to correct one part.
- If the recording or transcription fails, I only lose a few sentences instead of an entire train of thought.
This does not mean every dictation has to be short. I simply finish one full thought before starting the next one.
Use a shortcut
If you use dictation dozens of times per day, the shortcut needs to feel almost automatic. Many people map it to the Function key. I use Hyperkey (✦) + D because most of my Raycast shortcuts are already organized around that.
What’s especially useful about Dictation Styles in Raycast is that they’re exposed in the root search as commands. If you use a particular style often, you can assign a hotkey directly to it.
Add a feedback loop
You may have heard of “compound engineering”: the idea that every unit of work should make the next one easier, not harder. Well, you can apply the exact same principle to dictation.
Every week, I spend about 15 to 20 minutes reviewing my dictation history. I look for results I had to fix, identify which layer caused the problem, and adjust that layer to prevent the same problem next time.
1.Use it
Dictate real work.
2.Find mistakes
Review the results you had to correct.
3.Trace the cause
Identify the layer that caused the mistake.
4.Fix one thing
Change the smallest responsible rule.
Most mistakes fall into one of four categories:
- Missing or inaccurate sentences: check the microphone, reduce background noise, or verify the selected language.
- An incorrect word: add the missing term to your vocabulary.
- The right words but the wrong structure: adjust the style.
- Unwanted behavior across styles: update the global instructions.
Be careful with your prompt length because it will likely grow over time and may cause regressions. You could build a set of evals to run regularly for that. That’s too much engineering for my taste, but it is an option.
Enjoy a new way of typing
Today, I dictate about half of what I write. Over time, that may change to 80% dictation and 20% typing.
Now that you know how to do the same, try it with one email or message. If the result needs work, adjust your vocabulary, instructions, or style, then keep going. You’ll be surprised by how much you dictate too.